Fruit Coloring Page: Choose One Light Direction for Gentle Shading
The original fruit still life has an apple, pear and smaller curved shapes with broad colouring areas. Choose one imagined light direction and compare a flat layer with a softly shaded edge. The aim is a clear experiment, not photographic accuracy.
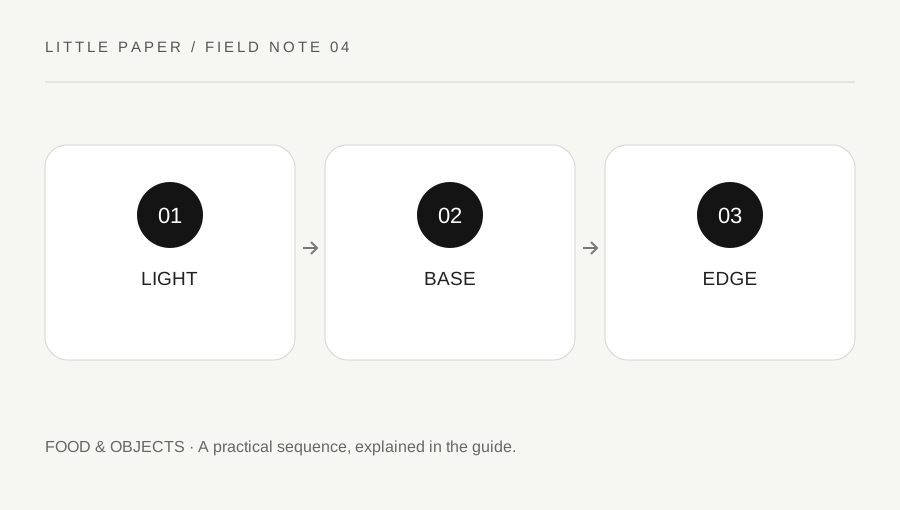
Original explanatory diagram. Examples illustrate a method or decision; they are not claims of personal testing.
Open the complete printable
Use the linked SVG and check that the border and all fruit shapes are visible in print preview. Choose a suitable fit option for the selected paper. Keep the drawing's proportions rather than stretching it to fill every edge.
Test the paper with the intended pencil, crayon or marker before printing several sheets. Read material labels and use appropriate supervision where needed. Some tools layer or erase differently, so choose a method the actual supplies can support.
Choose an imagined light direction
Mark the light direction mentally or with a small note outside the artwork. For example, imagine light arriving from the upper left. Keep the same idea across the large fruit shapes so the comparison is easy to understand.
This is a simplified drawing exercise, not a complete optics lesson. You can also choose flat colours without shading. The helpful part is making one intentional decision and testing it, rather than darkening random edges and trying to explain them afterward.
Lay down a light base
Choose a base colour and work gently across one broad fruit area. Leave a small lighter region where you want the imagined highlight. A tool that does not erase easily makes advance planning especially useful.
Try another colour on a neighbouring fruit so the shapes remain readable. Realistic fruit colours are optional. A purple apple or blue pear is a valid imaginative choice, and the same light-direction exercise can still be used.
Add one shaded edge cautiously
Use a suitable second layer or related colour near the edge away from your imagined light. Keep the change gradual if the tool permits it. Do not press harder than the material or paper can handle merely to make the edge immediately dark.
For a worked comparison, shade one fruit and leave another flat. Look at them from a normal distance and describe the difference. You are comparing mark choices on one drawing, not proving a measured improvement or requiring every shape to look three-dimensional.
Keep leaves and smaller shapes simple
The smaller areas can repeat one palette colour or remain lightly treated. A complicated pattern in every leaf is unnecessary if the broad fruit shapes are the main experiment. The surrounding paper can stay white.
Review whether the imagined light direction remained consistent and note one tool technique you would repeat. Let materials dry as directed before storing. The original sheet and examples are created for this activity, without copying a still-life photograph or claiming a therapeutic outcome.
On scrap paper, draw two simple ovals and colour one flat. On the other, leave a light area and add a gentle second layer near the opposite edge using a suitable tool. Keep the base colour similar so the mark treatment is the main difference. Choose whichever result you want to explore on the printed fruit.
If you choose shading, use the same imagined light direction on the apple and pear, but do not force identical dark areas onto different shapes. The exercise is a simplified artistic convention. Leave the smaller fruit quieter while comparing the broad forms. Review whether a limited palette made the shading easier to see. A useful note can name the layer order and tool rather than claiming that the result is objectively more realistic or better than a flat-colour version.
Your original printable
Download the original SVG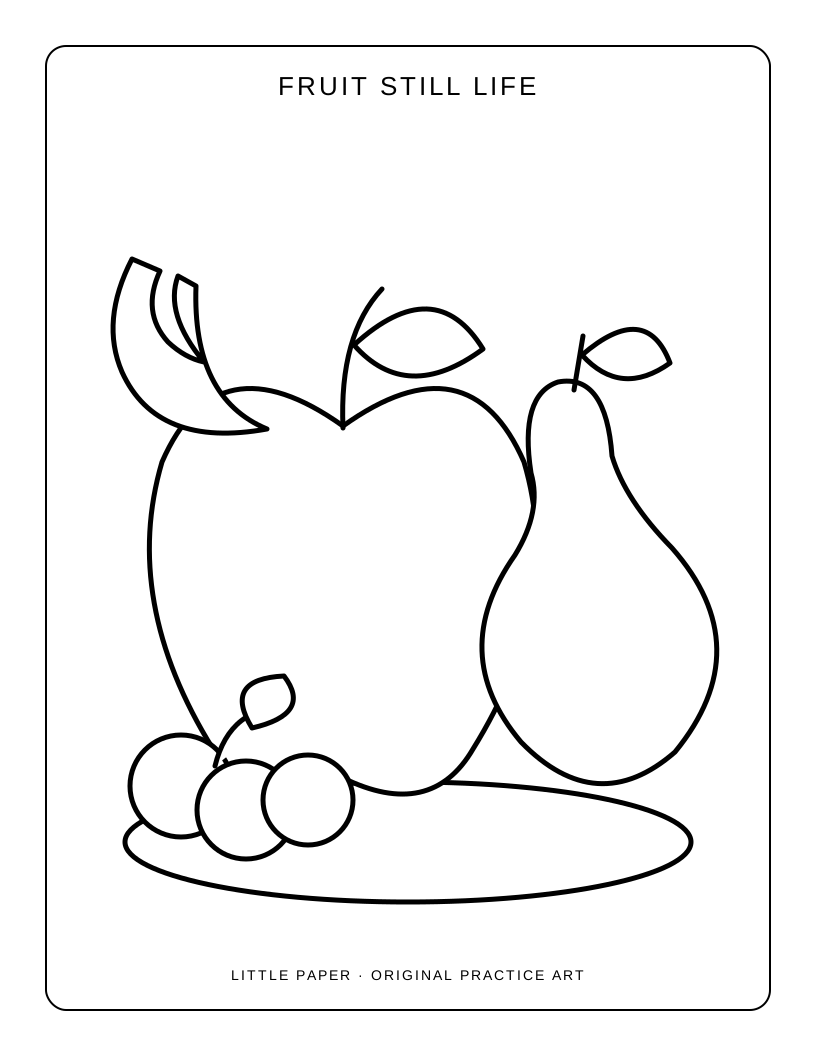
A practical checklist
Choices are saved in this browser. Reset them here or clear this site’s browser storage.
Questions that come up
Must I shade every fruit?
No. A flat-colour version is valid, and comparing one shaded area with an unshaded one can make the experiment clearer.
Can I use invented fruit colours?
Yes. The activity concerns deliberate colour and mark choices rather than a realism test.
Should I press hard for a dark edge?
Use the material’s suitable method. Build cautiously where possible instead of damaging the paper through excessive pressure.
References & scope
Background references checked on 18 October 2026. Worked examples and diagrams are original teaching material.